All products featured are independently chosen by us. However, SoundGuys may receive a commission on orders placed through its retail links. See our ethics statement.
How to solve common recording problems
Recording audio requires plenty of forethought, and picking the right microphone is just the tip of the iceberg. You have to consider how uneditable common recording problems might arise. Whether you’re frustrated by those loud “pop” sounds that ruin your recording or notice dramatic bass increases at random intervals, we’re here to help solve the most egregious recording issues.
Editor’s note: this article was updated on June 1, 2023, to answer FAQs and ensure that the formatting matches our current style.
Do you need a pop filter to record clean audio?
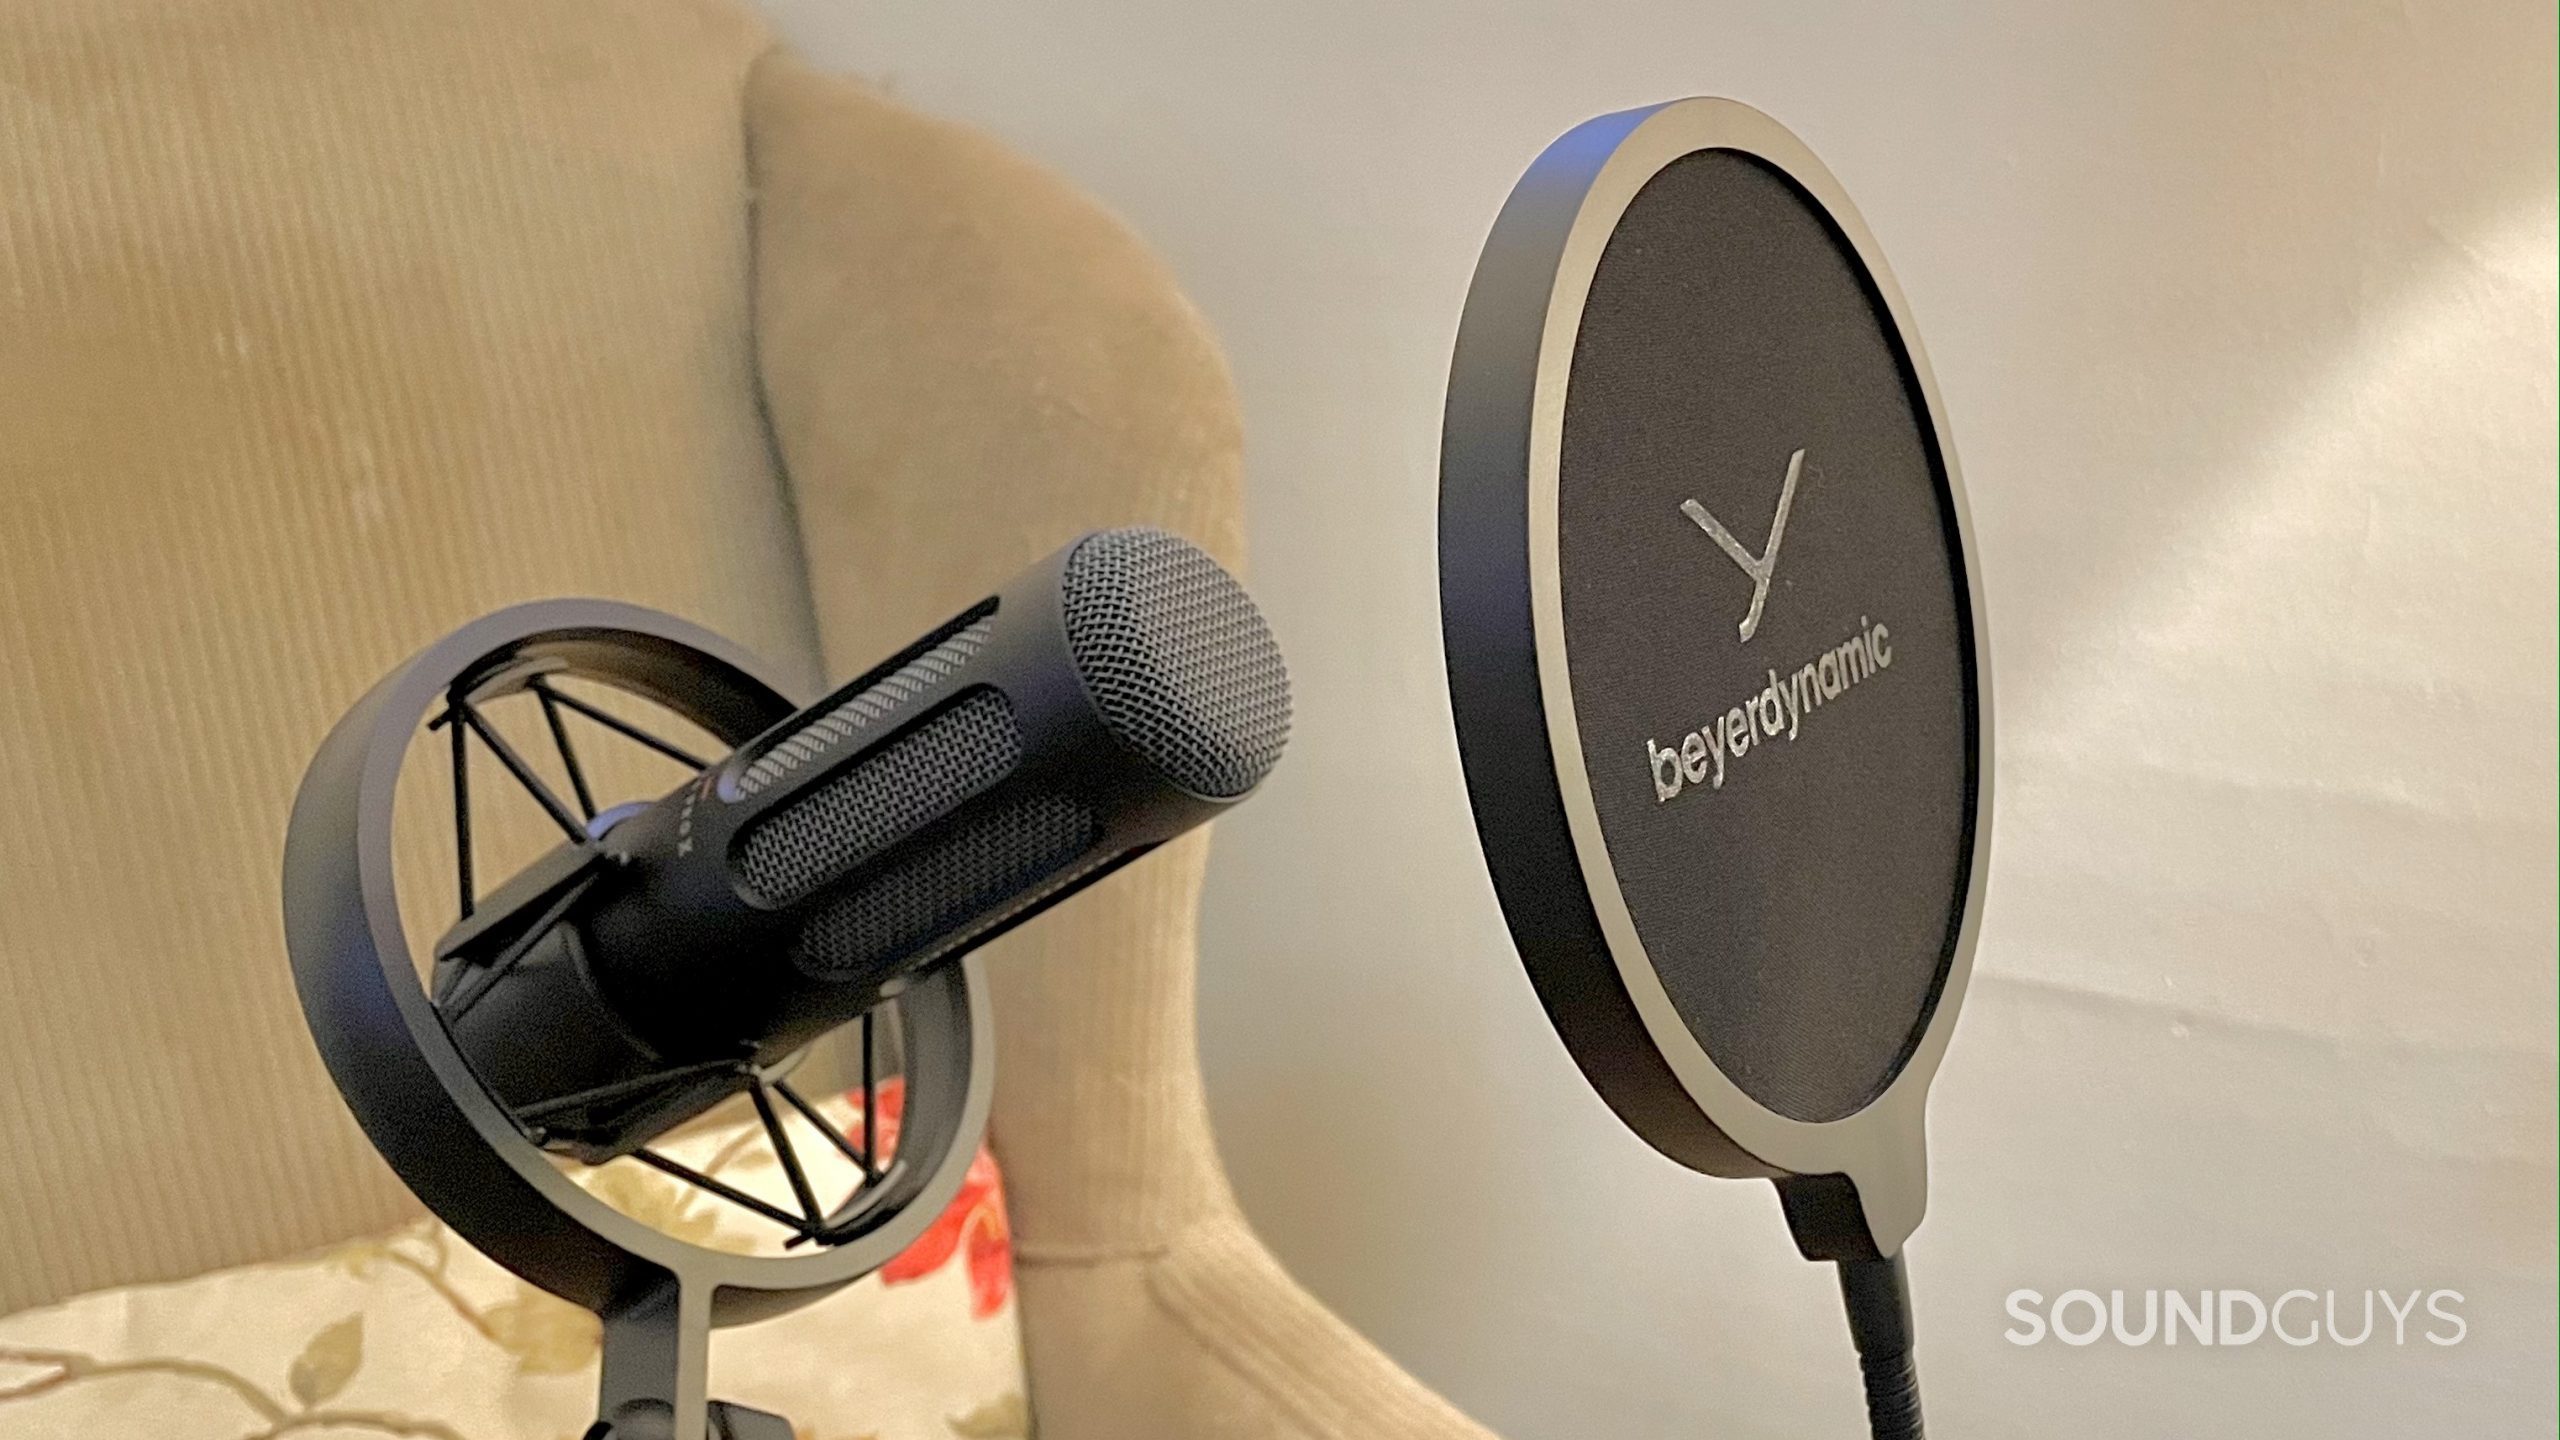
Pop filters can be good at reducing the effect of plosives and fricatives, which are pop and hiss sounds. Plosives have much to do with pressure and how air expulsion from your mouth impacts the microphone. Put your palm parallel to your mouth and say “papaya.” You should feel two bursts of air hit your palm as you enunciate the letter “P.” If you were to replace your hand with a microphone and record the sound, two spikes would show up in an audio editor.
Fricatives act a little differently. These sibilant sounds form when the tip of the tongue pulls toward the roof of the mouth, and air is forced out. A good example of this is the word “check.” Generally speaking, s, z, sh, and zh phonemes all produce sibilant noises.
Demo of plosives:
Demo of fricatives:
While the presence of plosives and fricatives is aggravating, one preemptive measure can be made to avoid them altogether: get a pop filter. For $10 or less, this is a cost-effective solution that affords immediate results.
These can be mounted onto a desk or mic stand in a matter of seconds and work exactly as the name implies. The filter’s screen takes the brunt of the air escaping your mouth, so the pop is practically inaudible upon reaching the microphone.
Where should you place a mic to avoid the proximity effect?

The proximity effect is one of the most common recording problems that plague at-home and studio artists alike. It occurs as you speak closer to the mic, low-frequency sounds increase in volume. While this isn’t as detrimental to conference calls, it can negatively impact professional recordings — forcing you to spend more time processing your audio track. Some handheld mics, like the venerable Shure SM58, minimize bass response to compensate for the proximity effect.
An easy way to accomodate this effect is by speaking at a consistent distance from the microphone — six inches is a good rule of thumb. When recording, try not to sway too far toward or away from the mic. If all else fails, you can apply and tweak a high-pass filter in Audacity, or your digital audio workstation (DAW) of choice.
What’s more, make sure you’re speaking into the correct side of the microphone. This sounds silly but some mics, like the Blue Ember, require you to place the capsule even and parallel to your mouth, rather than speaking directly into the top of the grill. Proper microphone placement can greatly improve clarity and provide consistent sound quality.
How can you prevent wind and cable noise when recording?
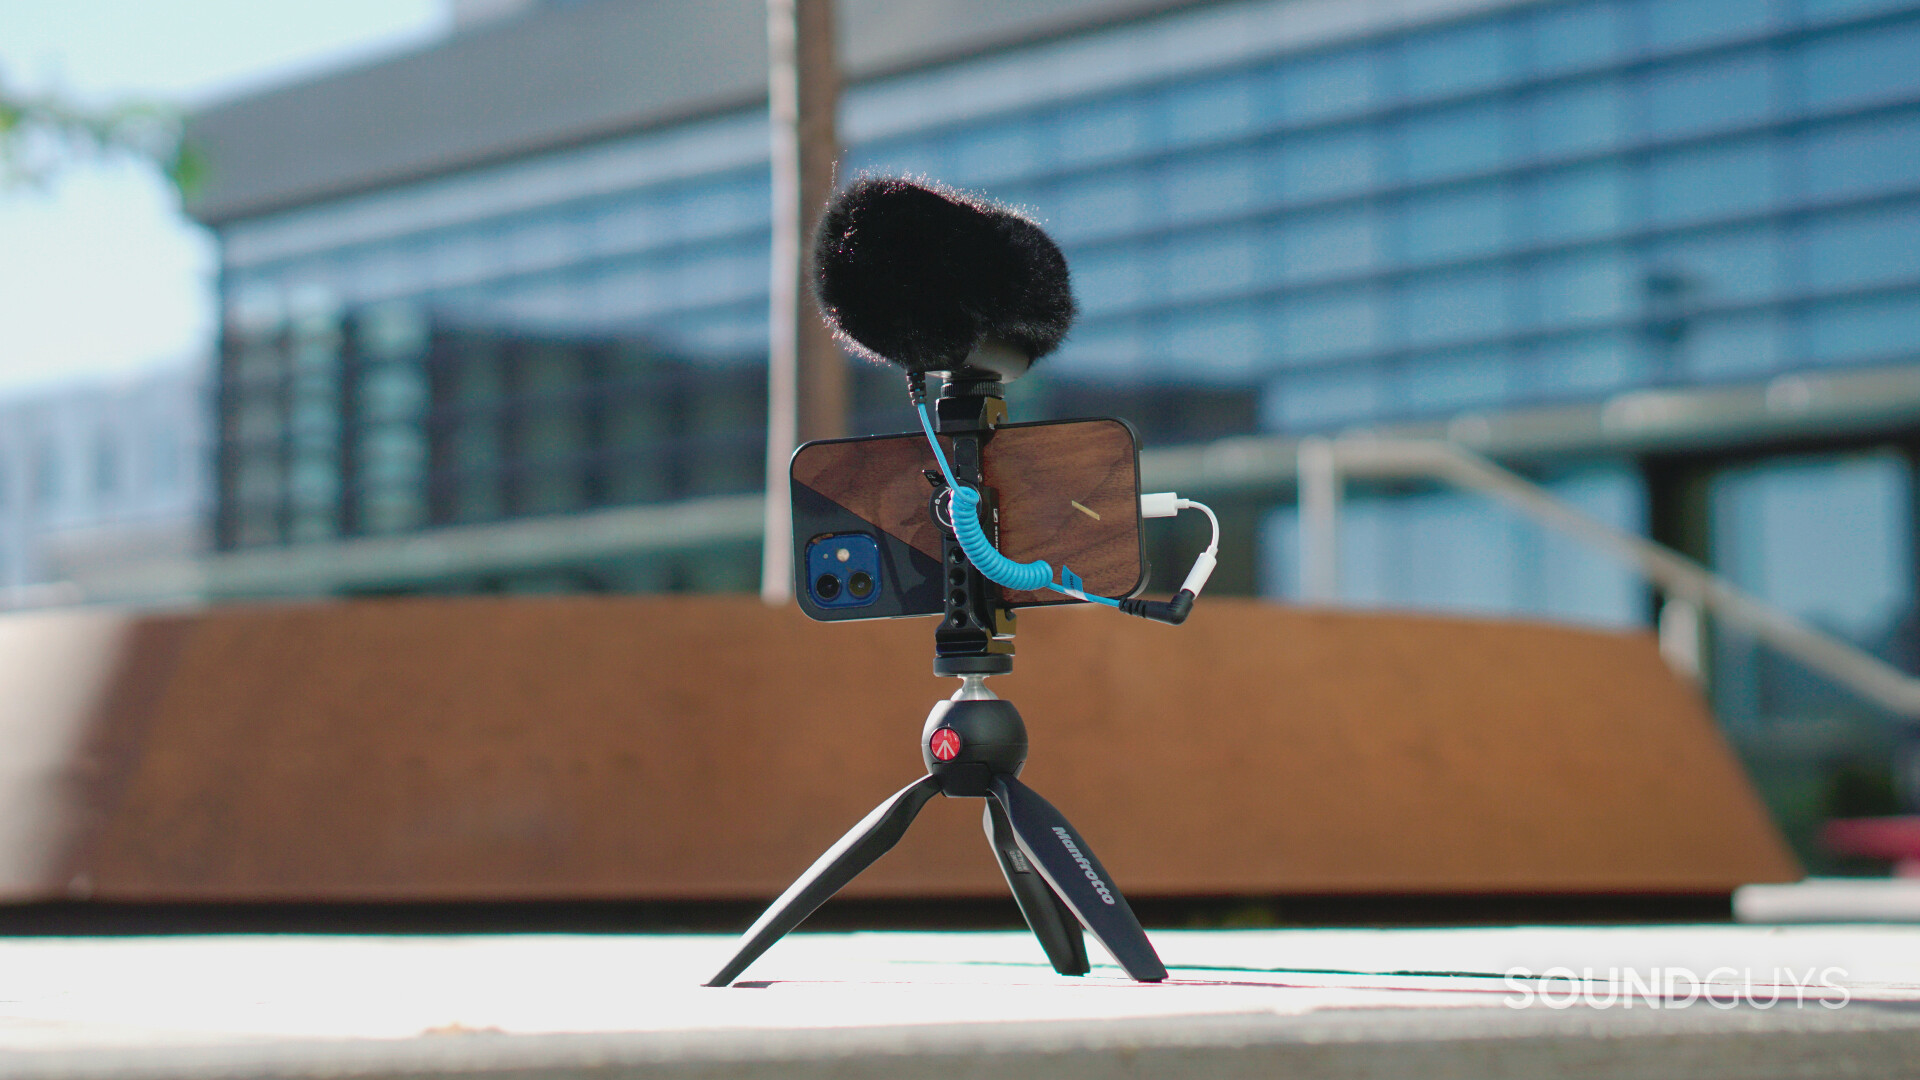
If you’re recording outside, your greatest enemy is the wind. Waiting out the weather is an option, but an unpredictable and inefficient one. Instead, you’re better off getting a dead cat. Don’t worry, it’s not as horrific as it sounds. The unfortunately-named dead cats are fuzzy windscreens with an acoustic foam interior. Sure, they won’t block out hurricane-level winds, but you should avoid recording in extreme conditions anyway.
Cable noise is another salient issue that you’re bound to run into. Depending on the type of recording you’re doing, there are a few solutions. If you’re interviewing with a lavalier microphone, you can run the wire under the subject’s shirt and use a little tape to keep it in place.
Your recording environment should be as controlled and quiet as possible.
For those who record from a studio, you may find your feet kicking against the wires. To prevent damage to your equipment and cable-knocking noises in your recording, get gaffers tape and run the excess cables along the floor. That way, you won’t be able to knock the cables around and your studio remains hazard-free.
Additionally, whether you record inside or outside, a good shock mount is a must. These reduce micro-vibrations. If you’re walking and recording this is imperative for a shotgun mic. Likewise, if you’re in the studio and speak with your hands. I’m guilty of doing so and often bump my desk which then jostles the boom mic. Yes, this leads to many re-recordings.
Does your microphone need external power?
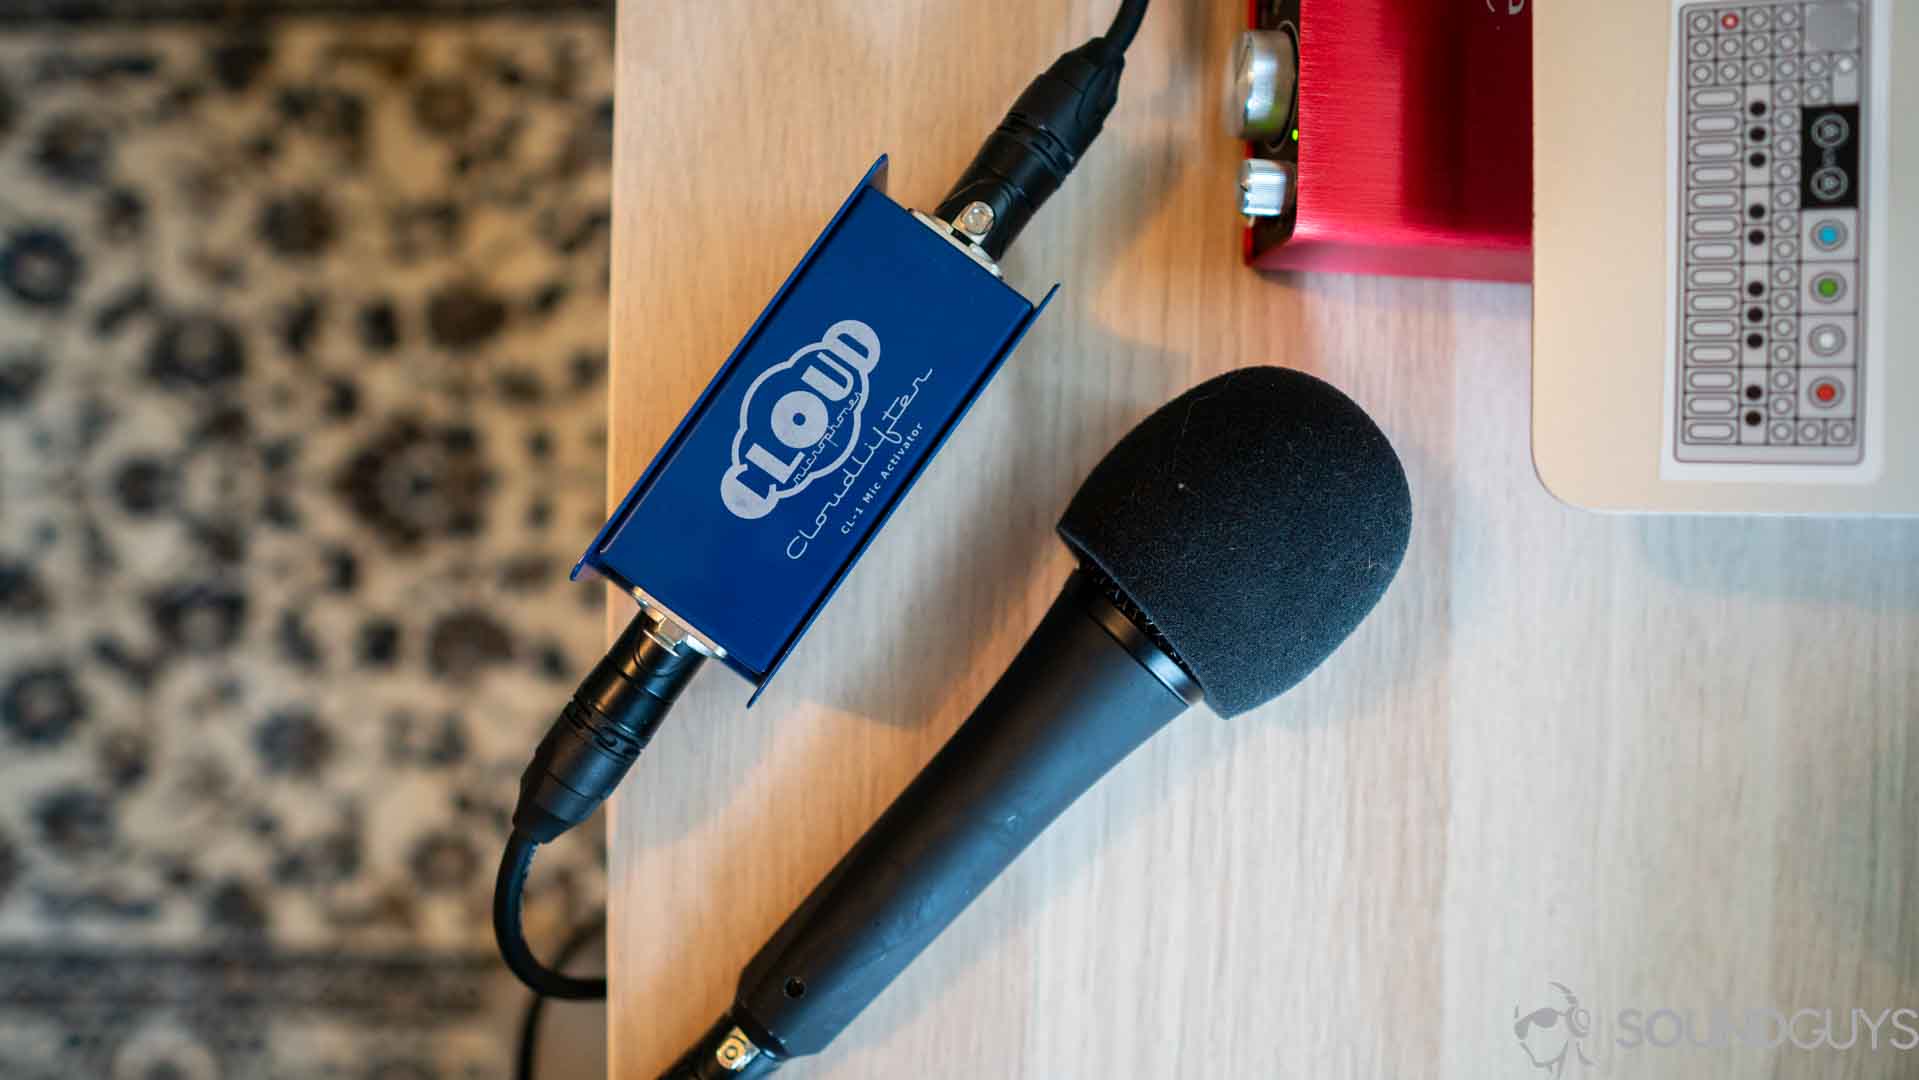
Certain microphones require phantom power, which is just external juice to power the microphone. Most specification sheets denote whether or not a mic needs external power. In the case of condenser microphones, phantom power works two-fold: it drives the mic and polarizes the internal transducer. Most audio interfaces include a phantom power toggle. You may need a separate mic preamp, if your interface doesn’t provide all the features you need.
How do you fix a phase issue, and can it solve recording problems?
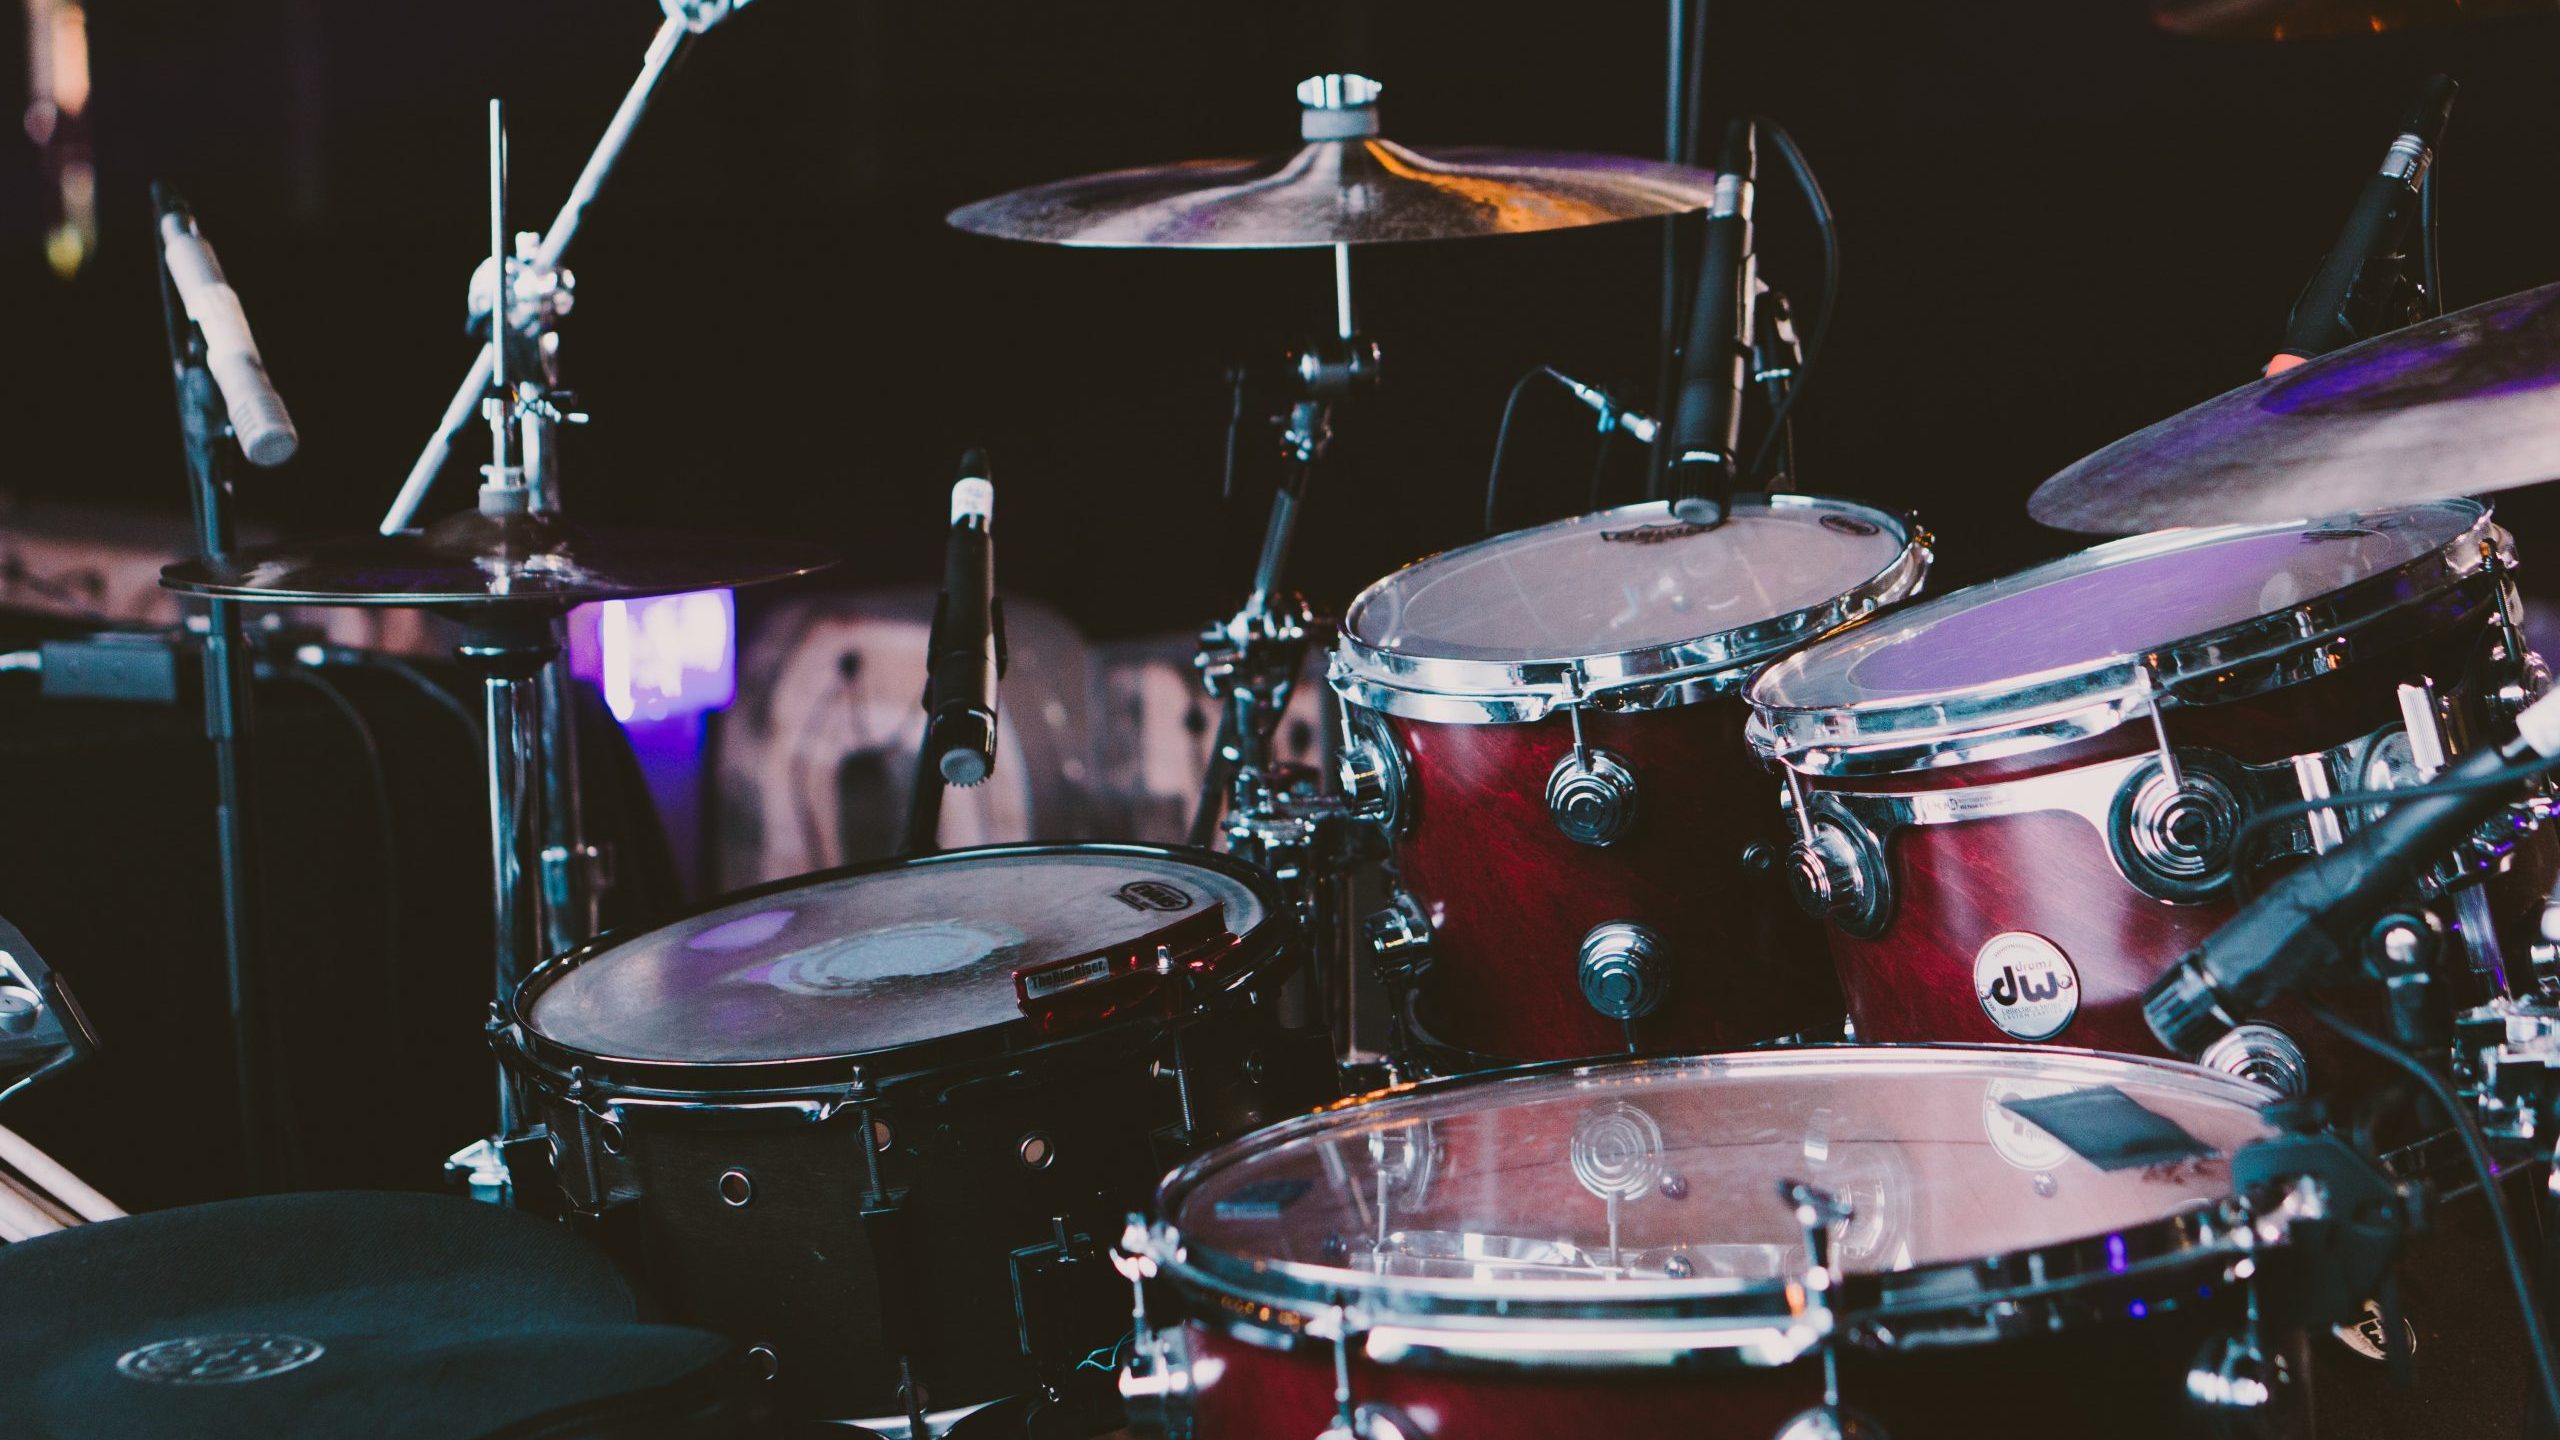
Do your drums sound kind of weak, unfocussed, or otherwise lacking something? You probably need to check the polarity on your drum tracks. You’ll find that switching the polarity (aka inverting the phase) of the suspect track may improve the sound drastically.
A good rule of thumb is that if you’re miking the side of a drum that isn’t being struck, you probably need to reverse polarity. You can find reverse polarity switches on most audio interfaces, or in the mixer section of your DAW. Try it and see.
What’s the best way to treat a room for studio recording?
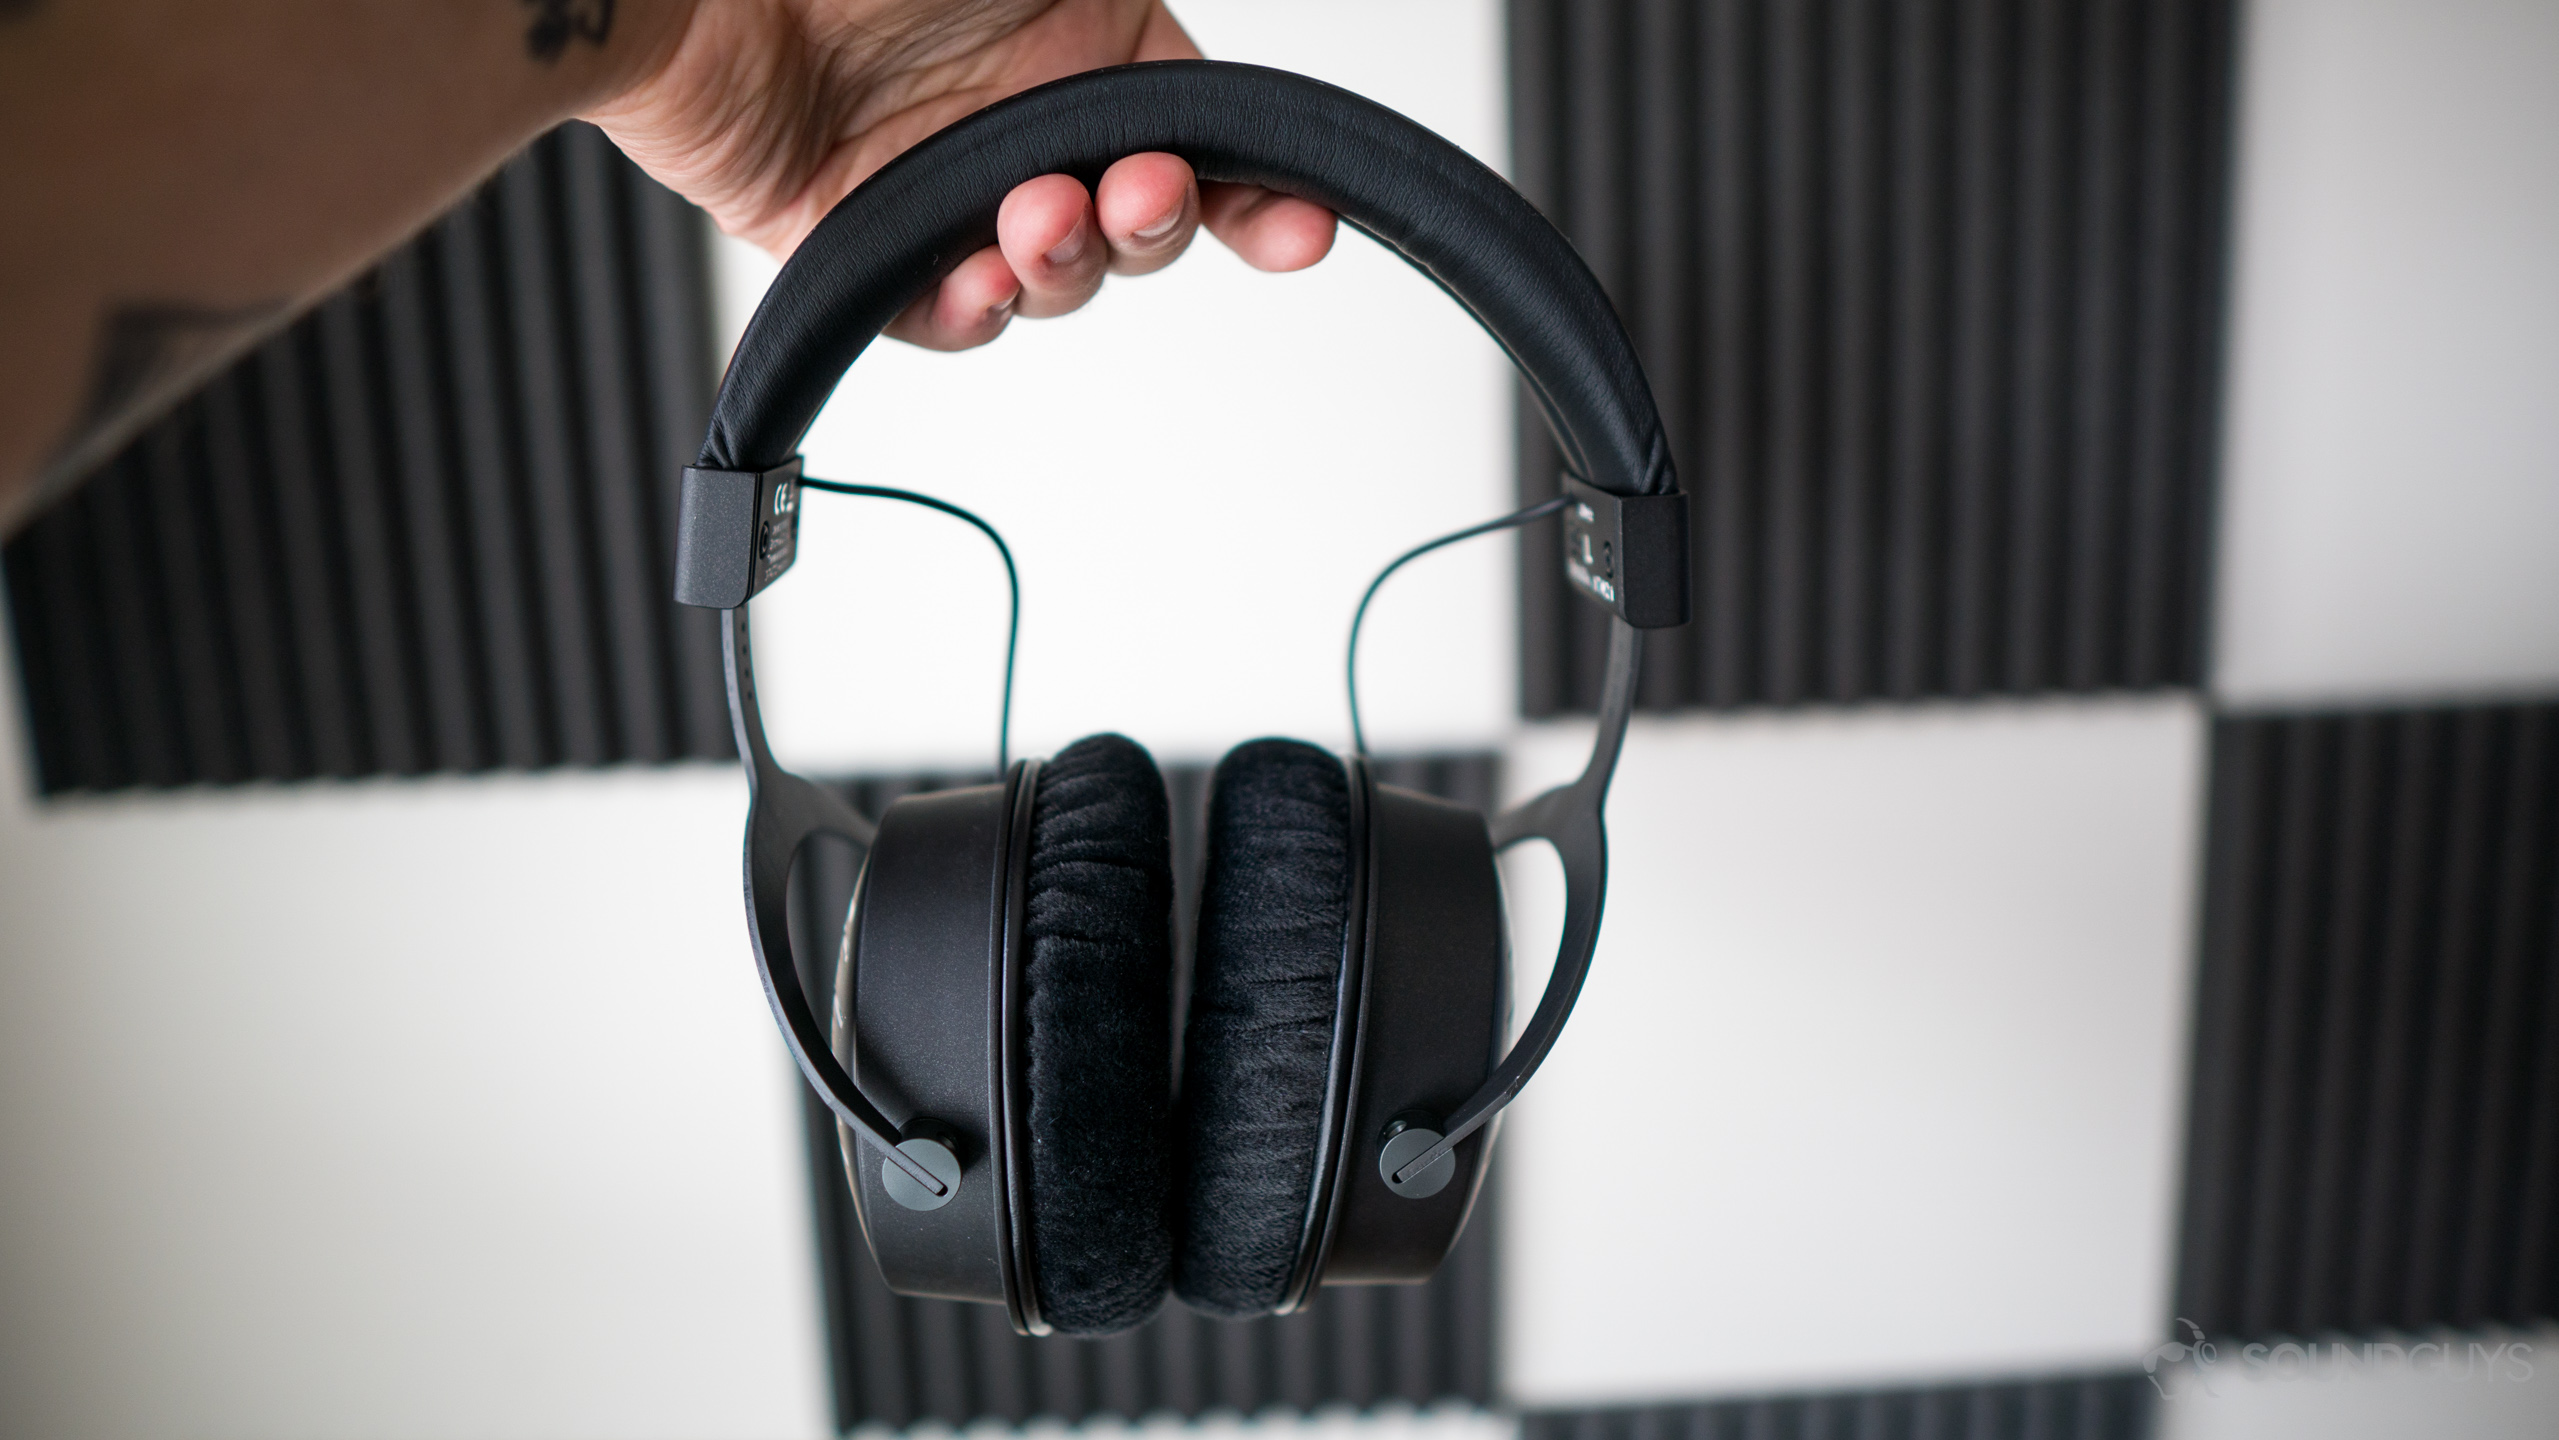
Depending on where you’re recording, your microphone may pick up outside noises and room reflections. While not everyone can afford to professionally treat or soundproof their rooms, there are some affordable fixes available. You could invest in acoustic panels, but remember that this will only marginally improve the environment. If you really want to acoustically treat a room, you’re going to have to invest a lot of time and money into a long-term project.
Even though proper recording technique is often learned by means of trial and error, this guide should help you avoid the most common recording problems. There’s plenty to be aware of when recording people, too. If you’re not sure where to start, be sure to check out our best podcasting and YouTube microphone picks.
Frequently asked questions on how to solve recording problems
To make your voice sound better when recording, make sure you’re working in a quiet environment and using an appropriate microphone. In a pinch, you may need to create a blanket fort to absorb unwanted echoes. A pop filter can also help reduce harsh sounds when speaking.
You can remove noise after the fact using software. If you have Audition, follow these steps:
- Highlight the section of your track with just the unwanted background noise. (This works best if it’s a constant droning sound from an A/C unit or internal noise.)
- Open the Effects menu > Noise Reduction.
- Select Get Noise Profile.
- The new noise profile Audacity presents will no longer have ambient noise.
- Select the entire recording and open the Effects menu > Noise Reduction > Get Noise Profile.
- The noise reduction will apply to the entire track.
There’s no usinversal rule as to whether you use a condenser mic or a dynamic mic for recording. But, if you plan on doing live performance, go with a dynamic mic.
If if it’s a podcast you’re recording, you can make either type work, but if you’re in the same room as your companions and miking several people, pay attention to polarity and proximity effect to keep your audio clean and consistent.
Unless your current cables are damaged, buying better cables will have little to no effect on your audio quality. There are better upgrades you can make, rather than spending on pricey cables, like buying a nicer microphone, or improving your mixing techniques with what you have.